
Press-on nails are a game-changer for a quick and stylish manicure. Whether you want trendy coffin-shaped nails, glossy chrome finishes, or classic nude nails, applying them correctly ensures a salon-like, long-lasting hold. Follow this step-by-step guide to get the best results. Select from the diverse range of Press On Nails designs from Indie Nails website.
What You’ll Need:
✔ A nail file (for shaping and prepping)
✔ Rubbing alcohol or nail cleanser (to remove oil & residue)
✔ A cuticle pusher (to push back cuticles)
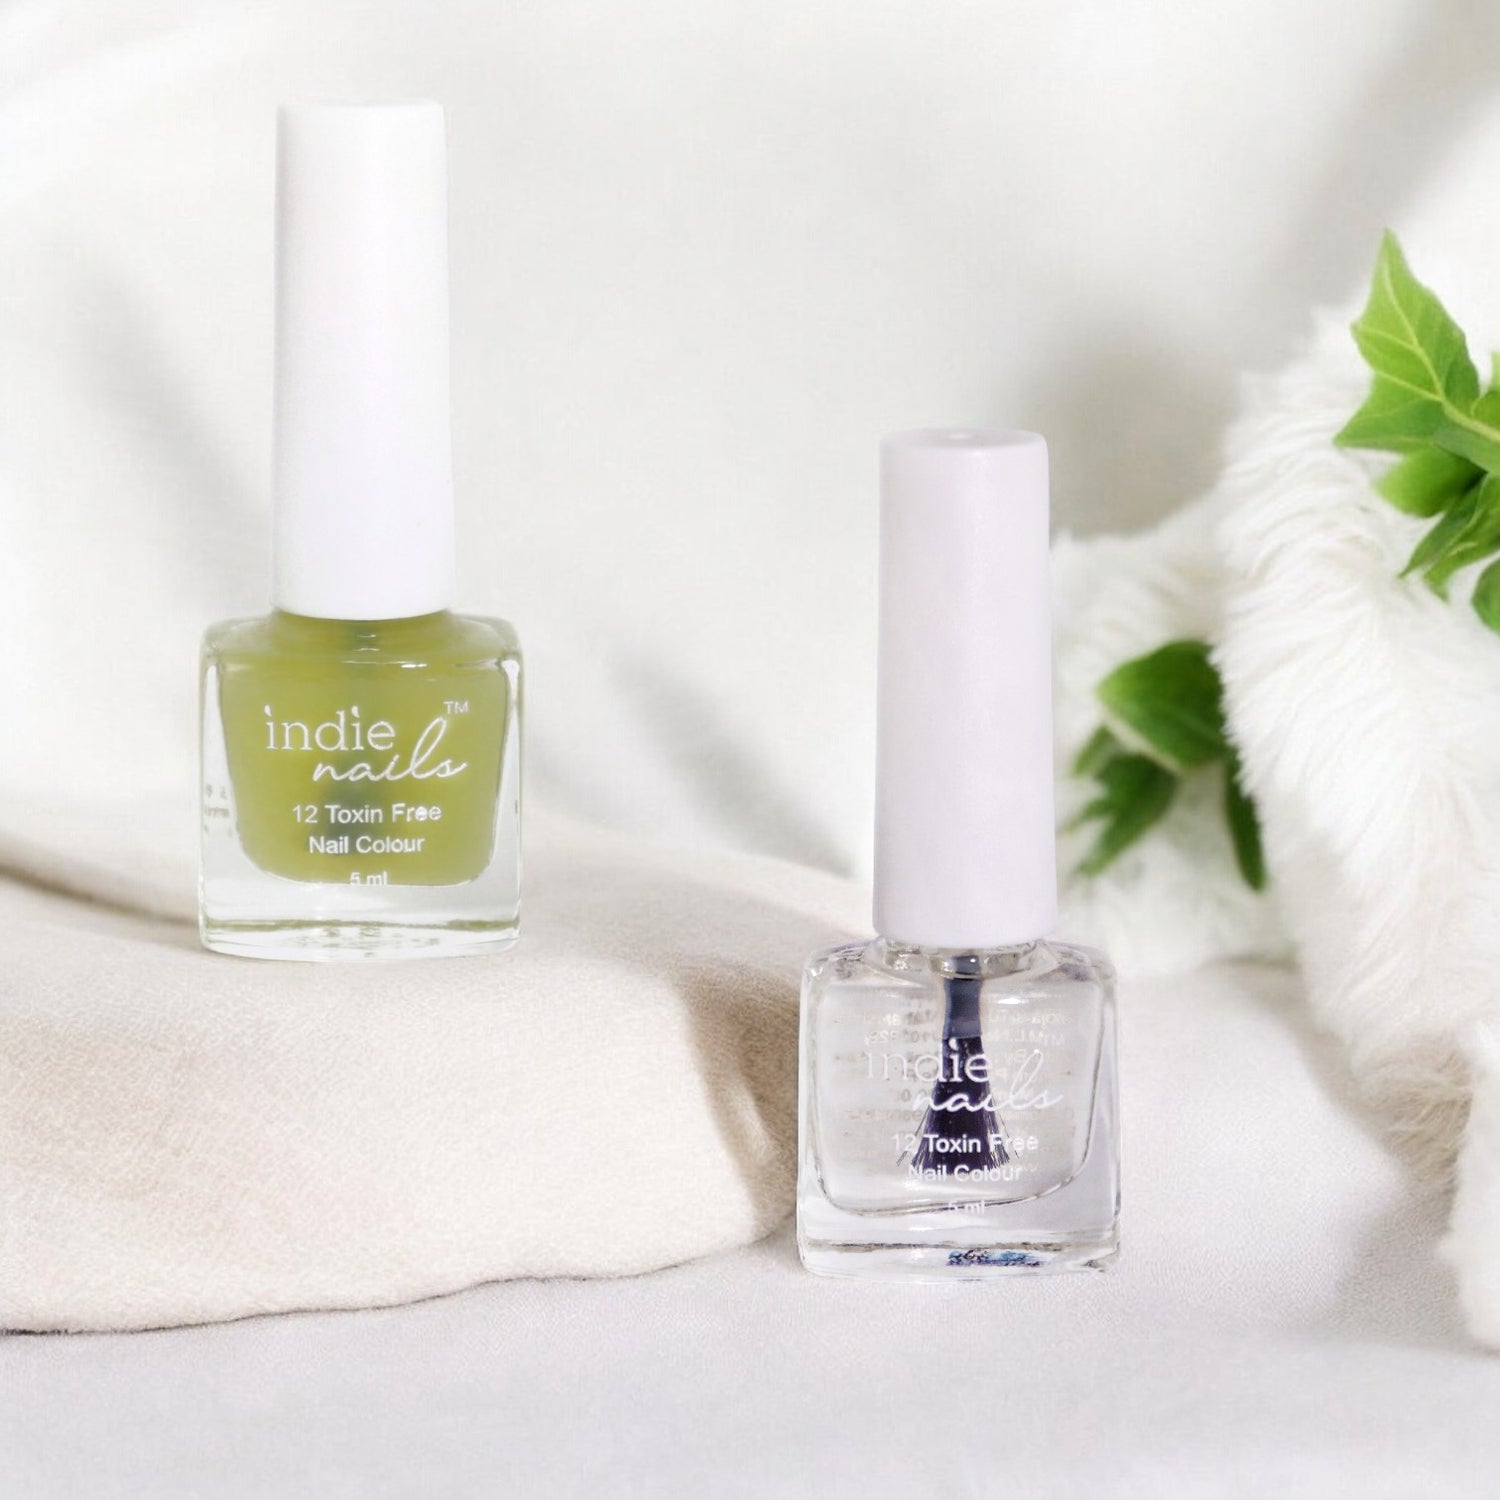
✔ Nail glue or adhesive tabs (for application)
✔ Your press-on nails (choose from almond, coffin, square, stiletto, or oval shapes)
Step 1: Prep Your Natural Nails
Start with clean, dry nails. Remove any old polish with Clean Slate Remover . Remove any natural oils using rubbing alcohol or alcohol swabs provided in the press on nails kits. This ensures better adhesion and a long-lasting hold.
Use a Cuticle pusher or Orange sticks to gently push back your cuticles. This helps the press-on nails sit flush with your natural nail bed, preventing lifting and making them look seamless.
Step 2: Find Your Perfect Fit
Before applying, lay out the press-on nails and match each one to your natural nails. If a nail is too big, use a nail file to shape the edges for a snug fit. A perfect fit prevents air pockets and gives a natural-looking manicure.
📌 Example: If you have small nail beds, opt for short press-on nails for a more natural appearance. If you prefer a bold look, long stiletto or coffin-shaped nails add drama.
Step 3: Apply the Nails
If using nail glue:
- Apply a thin layer of Korean Nail Glue to both your natural nail and the back of the press-on nail.
- Hold the press-on nail at a 45-degree angle and press it firmly onto your natural nail.
- Hold for 10-20 seconds to ensure a strong bond.
If using adhesive tabs:
- Stick an adhesive tab or glue tabs onto your natural nail.
- Firmly press the press-on nail over the tab and hold for a few seconds.
💡 Pro Tip: Always apply the nail from the cuticle to the tip for a smooth, natural look.
Step 4: Shape & Style
Once all nails are applied, file and shape them if needed. If they’re too long, trim them down. Want extra shine? Apply a glossy top coat for a salon-like finish.
How Long Do Press-On Nails Last?
With proper application, your nails can last:
💅 Glue method: 7–10 days (for a long-lasting manicure)
💅 Adhesive tabs: 1–3 days (ideal for temporary wear)
How to Remove Press-On Nails Without Damaging Your Natural Nails
Proper removal is crucial to prevent nail damage. Follow these steps for safe and gentle removal.
What You’ll Need:
✔ A bowl of warm, soapy water (to loosen the glue)
✔ Cuticle oil or coconut oil (to hydrate and ease removal)
✔ A cuticle pusher or wooden stick (to lift off nails gently)
✔ A nail filer (to remove residue)
Step 1: Soak Your Nails
Fill a bowl with warm water and add a few drops of mild soap. Soak your nails for 10–15 minutes to soften the glue and loosen the Indie Nails Press On Nails
📌 Image reference: A hand soaking in warm, soapy water with press-on nails visibly loosening.
Step 2: Gently Lift the Nails
Once they’ve softened, use a cuticle pusher or wooden stick to gently lift the press-on nail from the sides. Never force removal; if it's not coming off, soak for a few more minutes.
Step 3: Remove Any Residue
If any glue remains on your natural nails, buff it off gently with a nail buffer. Avoid scraping, as it can damage your nail surface.
Step 4: Hydrate & Protect
Massage cuticle oil or coconut oil into your nails and cuticles to restore moisture. If your nails feel weak, apply Nail Shield.
Final Thoughts
Press-on nails are an easy, stylish, and damage-free alternative to acrylics and gel nails. The key to long-lasting wear is proper application and gentle removal. Whether you love trendy chrome nails, nude coffin nails, or printed press-ons, there’s a perfect set for every occasion.
Shop Now from our website Indie Nails and get the best deals & designs for you.
Now that you know how to apply and remove Press On Nails the right way, it's time to try them out! Share your favourite nail styles in the comments or tag us on social media on Instagram at indienails.in , Facebook page Indie Nails for a chance to get featured! 💅✨